A photographer welcome packet is a must, but truly it’s a must-have for any business. Most of us are running brands (businesses) and managing family responsibilities, so we have to take steps to protect our time. But, with a bit of set-up to create a photographer welcome packet, you can give a stellar first impression without giving up more of your valuable time.
There are oh so many benefits to having a welcome packet…
Sending out a strategic and beautifully branded photographer welcome packet to your just-booked clients provides countless benefits to them and you, such as:
- Impressing clients by elevating the experience they have with you.
- Creating a well-rounded and informed experience even after they have booked (so important).
- Cutting back on the “back-and-forth” communication, saving your precious time.
- Laying out clear boundaries and answering frequently asked questions right away on what’s to come as the project progresses.
- Building solid client relationships and deepened connections from the start, helping your client feel assured in their decision to hire you.
Ok, hold up! We might need to cover exactly what a welcome packet is!
Your client booked you and paid your deposit or retainer. You could send a string of back and forth communications with all the ins and outs of getting ready for your session and paying any balances owed. Then, after your session, you’d could send more communication to follow up when the client’s gallery will be ready and information on edits, OR you could send one comprehensive, on-brand welcome packet.
I promise you the welcome packet is the best option for establishing your initial client communication!
A guide will give your clients the extra confidence they need after signing on the dotted line to know they made the right choice by choosing you. This immediate warm affirmation communicates from the get-go that you’re on your A-game and that they’re in good hands. The benefit to you will be the return in money and time, and wouldn’t we all like more of these things?
Bringing your brand into your welcome packet!
As a brand designer, there is something super important that I want to stress when it comes to your welcome packet – keep it on-brand, so it compliments your client experience beautifully.
Sure, anyone can buy a template, change out the words and move along. But when your brand isn’t consistent, you can lose the trust of your clients instead of solidifying their loyalty.
Yes, yes, I know they have already hired you from your online presence or perfect IG feed- but that doesn’t mean that you get to slack off on your brand duties. They chose YOU of everyone they considered, and that should make you feel pretty incredible! You’ll want to keep delivering more of what first attracted them to you.
So, right after they’ve made the decision for you, you can continue showing them excellence from the first touchpoint- your photographer client welcome packet. When they receive an onboarding guide consistent with your social media and website branding (the brand they booked), they’ll feel like they just made the best decision of their life! Clients take note of all the little ways we serve them, and by keeping your client welcome packet consistent with your branding, your clients will perceive you as an organized, top-notch pro.
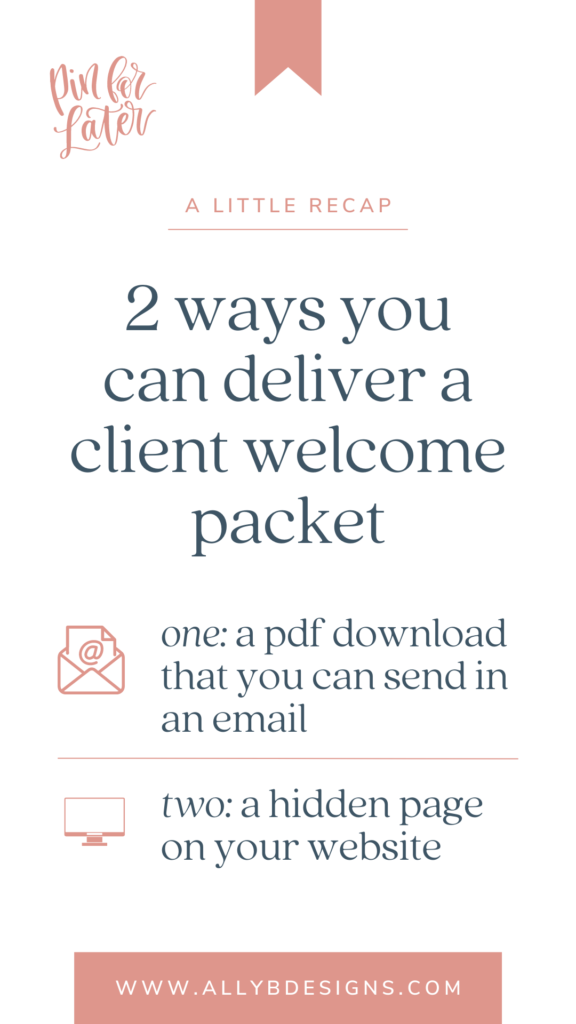
There are two ways you can share your client welcome packet.
Here are a couple of ways you can share a welcome packet with your clients.
- A PDF download that you can send in an email. The pros- you can easily create one in Canva (or any other design program). They are easy to update with new pricing or processes, and you can simply share a link to the download in dms or emails. You can even print your PDF to share at in-person events or with industry collaboration partners.
BUT, there are some cons I should share. If someone shares an old copy of your welcome packet with a friend, it might contain outdated information, and they might form certain expectations that don’t align with how you’re serving your current clients. You might not want your last year’s pricing making it into the hands of this year’s client prospects. If you go with the PDF route, you’ll need to take more care (and time) than just uploading your logo to a template and calling it done.
- A hidden page on your website. Once your client has booked, you can share a hidden page on your website. The pros- you’ll always share the most recent and relevant information on your services. Branding is a cinch, because you can duplicate sections from your website to create the page. The hidden page will seamlessly flow right along with your website.
The con here- you might find website updates very daunting or tedious to make. If managing your website isn’t your cup of tea, then the PDF option might be a better fit for you.

You’ve decided which option works for you. Great! Now, here is what you should include in your welcome packet.
You’ll want to include everything your client needs to know to have a successful experience with you in an inviting, branded guide. You will need to share everything your client needs to KNOW and DO to ensure your photoshoot moves along smoothly. Then, when your session goes off without a hitch, your client will be over the moon and ready to sing your praises to anyone else needing your services.
Here are some pieces to include to ensure them of the excellent client experience they will receive:
- A heartfelt welcome note – Welcome your client to your “family” and thank them for booking you. Include a call to action that encourages clients to read this photographer welcome packet in detail and complete the necessary steps to ensure you have a fun and successful working relationship.
- An About section – Your client booked your services, but keep in mind, they booked YOU. An “About” page in your guide will allow you to connect deeper with your new client. This packet component will let your personality shine as well as your expertise.
- Office hours and communication policy – Let your clients know your office hours (even if you work remotely) or when you’re available for calls and emails. If you don’t prefer text or messenger communication, mention that here. Completely lay out your boundaries for communication – whether you are strict or super laid back and have no problem returning client texts at 8 p.m. on a Saturday, your new client needs this information upfront.
- Client portal details and client expectations – Remind your clients how they will find all communication and assets pertaining to their project right within their Honeybook portal. Include how they can log in and where they can find everything they will need. Also, include any client expectations you have. For example, do they need to arrive 15 minutes early for their photoshoot? Do they need to send you inspiration and location information at least 5 business days before their scheduled shoot date? Give your client all the expectations in this part of your welcome packet, and both of you will enjoy a better work experience.
- The experience to come – Let your client know the next steps. Will you touch base with them a week before their photoshoot? How soon will they receive their proof gallery? Your client will appreciate knowing what’s to come.
- Final payment information – If you accept deposits or take final payments later down the line, remind your client when final payments are due and how they can make them ( check, Paypal, debit/credit).
- Must-know tips or inspiration – You can provide a style guide or information on picking the right outfits or colors for photos. Include location inspiration or other fun tips that your client will appreciate. Do you have best practice suggestions that can provide the best experience for your clients throughout your project? By sharing tips and inspiration with your clients, you’ll add extra value to your services.
- Frequently asked questions – Cover any frequently asked questions you typically get from clients once they’ve booked or are further into the process. You may already have an FAQ section on your website to borrow verbiage, or you can review past client emails to find common process questions to answer in this section.
- Next steps and call to action – Encourage your client to log into their client portal and start providing information as soon as they get their details. A step-by-step checklist of what you need them to do next will help guide them forward.
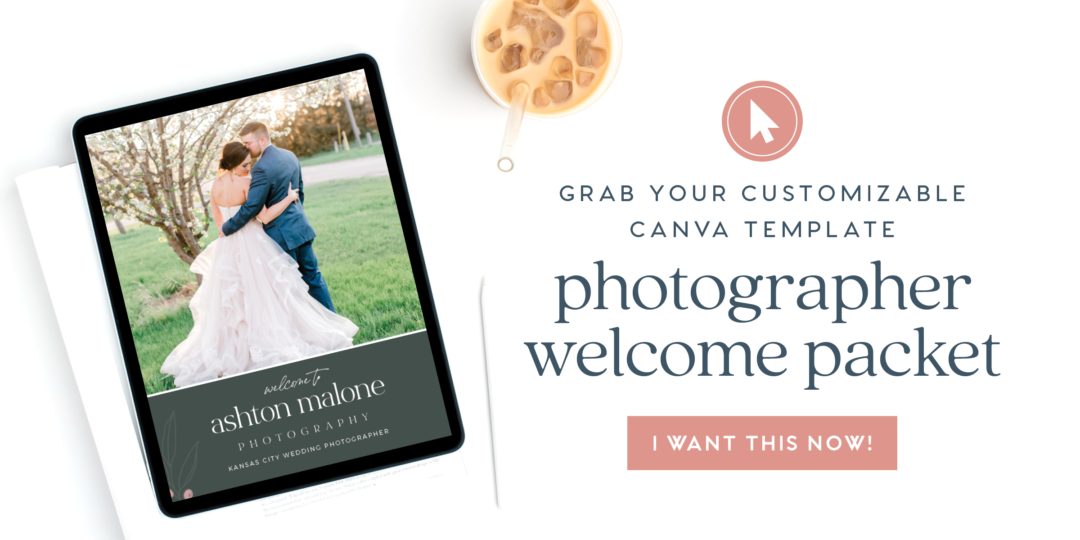
If you are looking to add a welcome packet to your client experience, be sure to check out the templates available in the shop! These templates include the Canva template layout as well as professionally written copy, so you will know exactly what to say and when to say it!
CLICK THE IMAGE TO BUY A WELCOME PACKET IN THE TEMPLATE SHOP!
If you have any questions at all on the Welcome Packets in the Ally B Shop please reach out and connect with me! You can contact me by clicking here and sending a message.

